


Before installing a turbo back exhaust system, gather specific tools and parts for your vehicle model. Ensure safety by using protective gear, jack stands, and high-quality brake rotors. Disassemble and remove existing exhaust components, clean the area, and follow manufacturer instructions for assembly. Park on a level surface, engage the parking brake, disconnect the battery, wear protective gear, and carefully remove the existing exhaust system.
Looking to boost your vehicle’s performance with a turbo back exhaust? This comprehensive guide walks you through the step-by-step installation process. From gathering the necessary tools and parts to removing existing components, we’ve got you covered. Learn how to install a turbo back exhaust system efficiently and safely, enhancing your car’s power and sound. Discover the benefits of this modification and get ready to take your driving experience to the next level.
- Gather Necessary Tools and Parts for Installation
- Remove Existing Exhaust System and Components
- Install Turbo Back Exhaust System Step-by-Step
Gather Necessary Tools and Parts for Installation
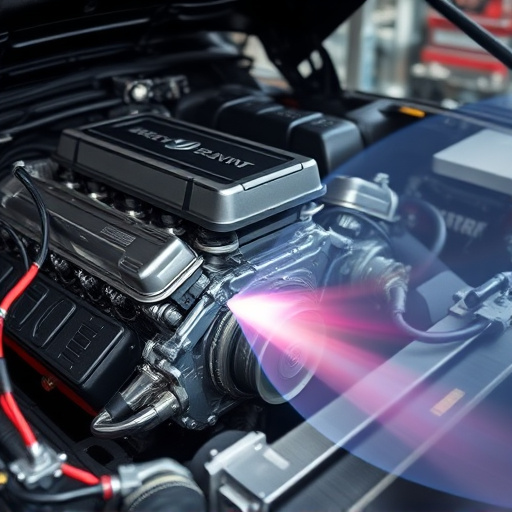
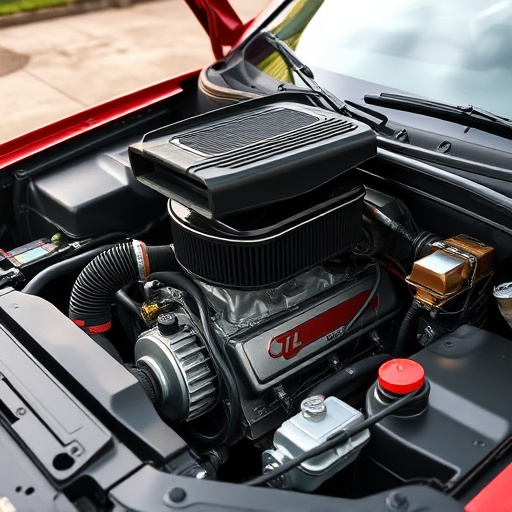
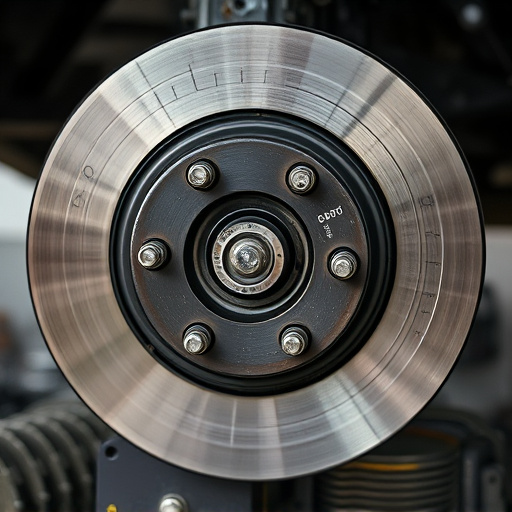
Before tackling any DIY automotive project, ensuring you have all the required tools and parts is paramount for a successful installation. For a turbo back exhaust system, your essential items include specific exhaust components like downpipes, mufflers, and tips designed to fit your vehicle model, along with gaskets, bolts, and clamps. Additionally, consider having a cold air intake system and coilover kits on hand, as these can enhance overall performance, especially if you’re after a more aggressive tune. Safety is also crucial, so don’t forget items like protective gear, jack stands, and a set of high-quality brake rotors for stable and reliable stopping power during the installation process.
Remove Existing Exhaust System and Components
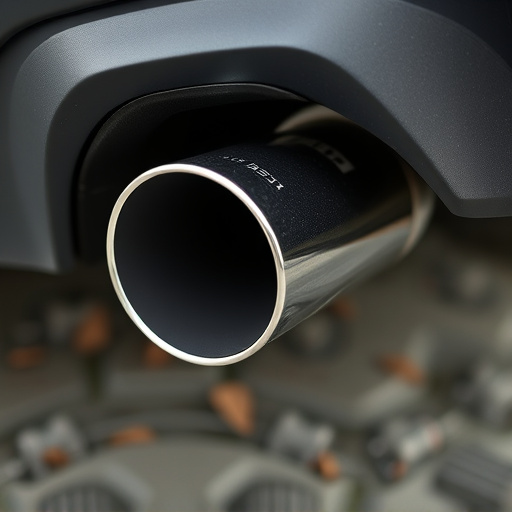
Before installing a turbo back exhaust system, it’s crucial to remove your existing exhaust components. This process involves carefully disassembling the old exhaust systems and brake components from your vehicle. Start by disconnecting the exhaust pipes from the engine, ensuring you have proper tools like wrenches and sockets to prevent damage. Once disconnected, physically remove the pipes, catalytic converter, and muffler, taking note of how they were attached for future reference.
After removing the old exhaust systems, thoroughly clean the area to ensure no residue or debris remains. This meticulous step is essential as it allows for a proper fitment of your new performance exhaust. With a clear workspace, you can now begin assembling your turbo back exhaust system according to the manufacturer’s instructions, marking significant improvements in vehicle performance and sound.
Install Turbo Back Exhaust System Step-by-Step
Installing a turbo back exhaust system can significantly enhance your vehicle’s performance and sound. Here’s a step-by-step guide to help you through the process:
1. Safety First: Begin by ensuring your vehicle is parked on a level surface, engage the parking brake, and disconnect the battery for safety. Put on protective gear, including gloves and eye protection, as you’ll be working with various components.
2. Remove Existing Exhaust System: Carefully take apart the old exhaust system, starting from the rear. This may involve removing exhaust tips, hangers, and mufflers secured by bolts or clamps. Take note of where each component is connected to plan for reinstallation later.
Installing a turbo back exhaust system can significantly enhance your vehicle’s performance and sound. By carefully following these steps, from gathering the right tools and parts to removing the old system and finally installing the new turbo back exhaust, you can achieve a more efficient and robust engine setup. Remember, proper installation is key, so take your time and ensure each component aligns perfectly for optimal results. Enjoy the benefits of a refined driving experience with your newly installed turbo back exhaust!